

Vanilla Cake with Tinted Vanilla Buttercream
Is it almost that time of year?! Halloween is getting closer and Fall may have arrived (depending on your need/no need for a Pumpkin Spice Latte). Either way, the weather is changing and the beginning of holiday season is closing in.
As a sprout in Missouri, my all-time favorite Halloween candy was Brach's Candy Corn. This time of year, it was in great abundance and I like to think I ate my fair share.
 The iconic yellow, orange, and white triangle continues to provide inspiration for Halloween-themed cakes. Now all I need is a party invitation.
 I couldn't decide between the solid layers of color or the more complicated rings of color..so I made both. Let's walk through the construction of each of these cakes.
There is no doubt, I love a triple-layer tinted Vanilla Cake. In order for the color to be more true, I use six egg whites instead of four eggs; by taking the yolks out of the batter, the color saturation is improved.
This little six inch cake follows the Candy Corn layered convention of yellow, orange, and white. The roses are a perfect decorating technique to carry the theme of the cake. And, it's just too dang cute. I love the look. It can work at an upscale party or something considerably more relaxed. This little beauty is versatile.

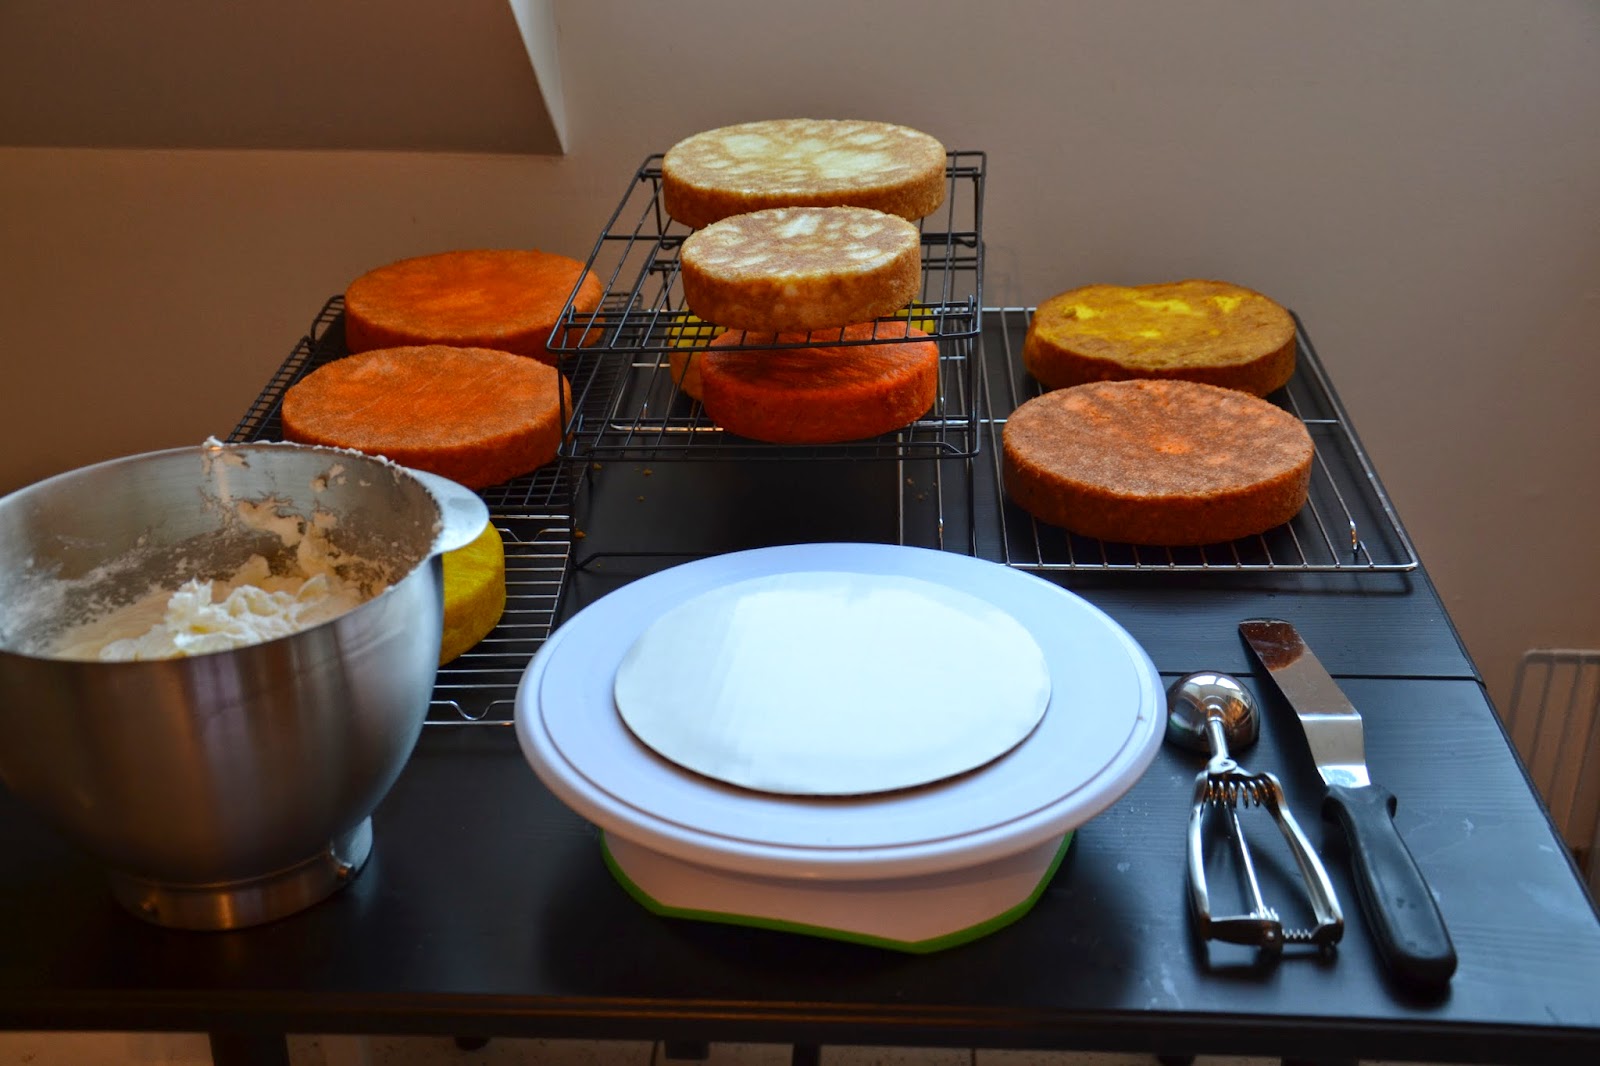


After the crumb coat has had a few minutes to set up, the next stage of fun times can begin. I don't know if I have more fun at the decorating or the baking stage...it can be a real toss up!


I do love the way it look...this is a cake in need of a party!


Three colors, three layers is an easy cake to prepare, bake, and decorate. Turning up the volume with rings of color is not for the feint of heart.
Similar to a checkerboard cake, this cake was more like a target using yellow, orange, and white. Each layer has three separate pieces and with three layers to build...the number of moving parts gets out of control almost immediately.


I was happy with how each layer went together. I would adjust the measurements a wee bit in order to have a larger center and a narrower outer ring.


I love this simple, rustic look. In reality, it's the base coat to the planned ruffles. However, a designer could stop right here and say, "This is my cake." And people would love it. I've used this minimalist technique as a finished design on several cakes. I love the simple look - it brings drama with its ease. If I were to add anything, I'd consider a little banner hung across the top.


I was happy with the results of how the cake presented. I was less than happy with the appearance of the layers...it seemed too forced? Or maybe I had to try to hard too recognize the trajectory of where this cake was going. Perhaps two layers would be the right height for rings of candy corn.


The yellow rings yielded several lovely cake rounds just waiting to be put to use. I opted for a naked cake (a cake without an exterior frosting). It was filled and topped with white buttercream rosettes. I added a few yellow and orange drop flowers as an accent. This was simply sweet.


And what did we do with three cakes?
- The ruffled cake we served at a dinner party in our home; we had friends over for a chili dinner and an evening of cards. It was a blast!
- The roses cake we gave to a couple of other friends who were able to take it to a celebration.
- The naked cake was given away; he took it into the office the next day...I hear it was well received.

I'm grateful for my life partner - he makes it possible for me to be creative in the kitchen.
I love it when our kids offer chants and cheers from great distances.
I can't help but be grateful for sobriety.
SuhWEET!
ReplyDeleteThanks, Pam!!
Delete