Sunday, December 7, 2014

Red Velvet Button Cake


Red Velvet Cake, a Cheesecake Layer, Crumb Coat of Cream Cheese, Vanilla Buttercream Frosting, and garnished with Marzipan Buttons


This Red Velvet Button Cake was baked for a special holiday dinner out with friends.  It was a fabulous dinner, even better conversation, and capped off with a wonderful slice of cake.

Of course, Christmas just wouldn't be the same without a red, red slice of Red Velvet Cake...made all the more scrumptious with a layer of Cheese Cake.  It is also the case that I've baked Red Velvet cakes before...and blogged them here, here, and here.  I wanted this cake to taste delicious and look different from the other Red Velvet cakes.

I needed time to think and generate ideas...inside my skill set.  Buttons and small flowers I can do.  Who doesn't love buttons??

I've  made buttons once before as part of a large cupcake event, blogged here.  On that occasion I used fondant and each button was the same size.  I was happy with the results then and I'm even more happy with the results now; we won't even discuss the amazing taste benefit of marzipan! 

More about working with marzipan... it can't be rushed, so I started cutting them out approximately two days before I needed them. I kept them loosely covered on a tray and they were still very tasty, soft, and flexible.  Marzipan brings a wonderful almond flavor to the mix.  The texture is quite moist so using a mix of powdered sugar and cornstarch helps prevent from the button from sticking to the round cutter.


I was thrilled when I found Dr. Oetker red and green marzipan at the nearby Edeka market.  This product is a dream to work with and is already tinted a lovely color.  To achieve the dark green I added a bit of green gel to a small portion light green marzipan (about the size of a large strawberry). For pink, I added pink gel to a neutral, commercially available, marzipan...which is tan in color.


The little flecks of white is the powdered sugar/cornstarch mix I used to release the button from the form.

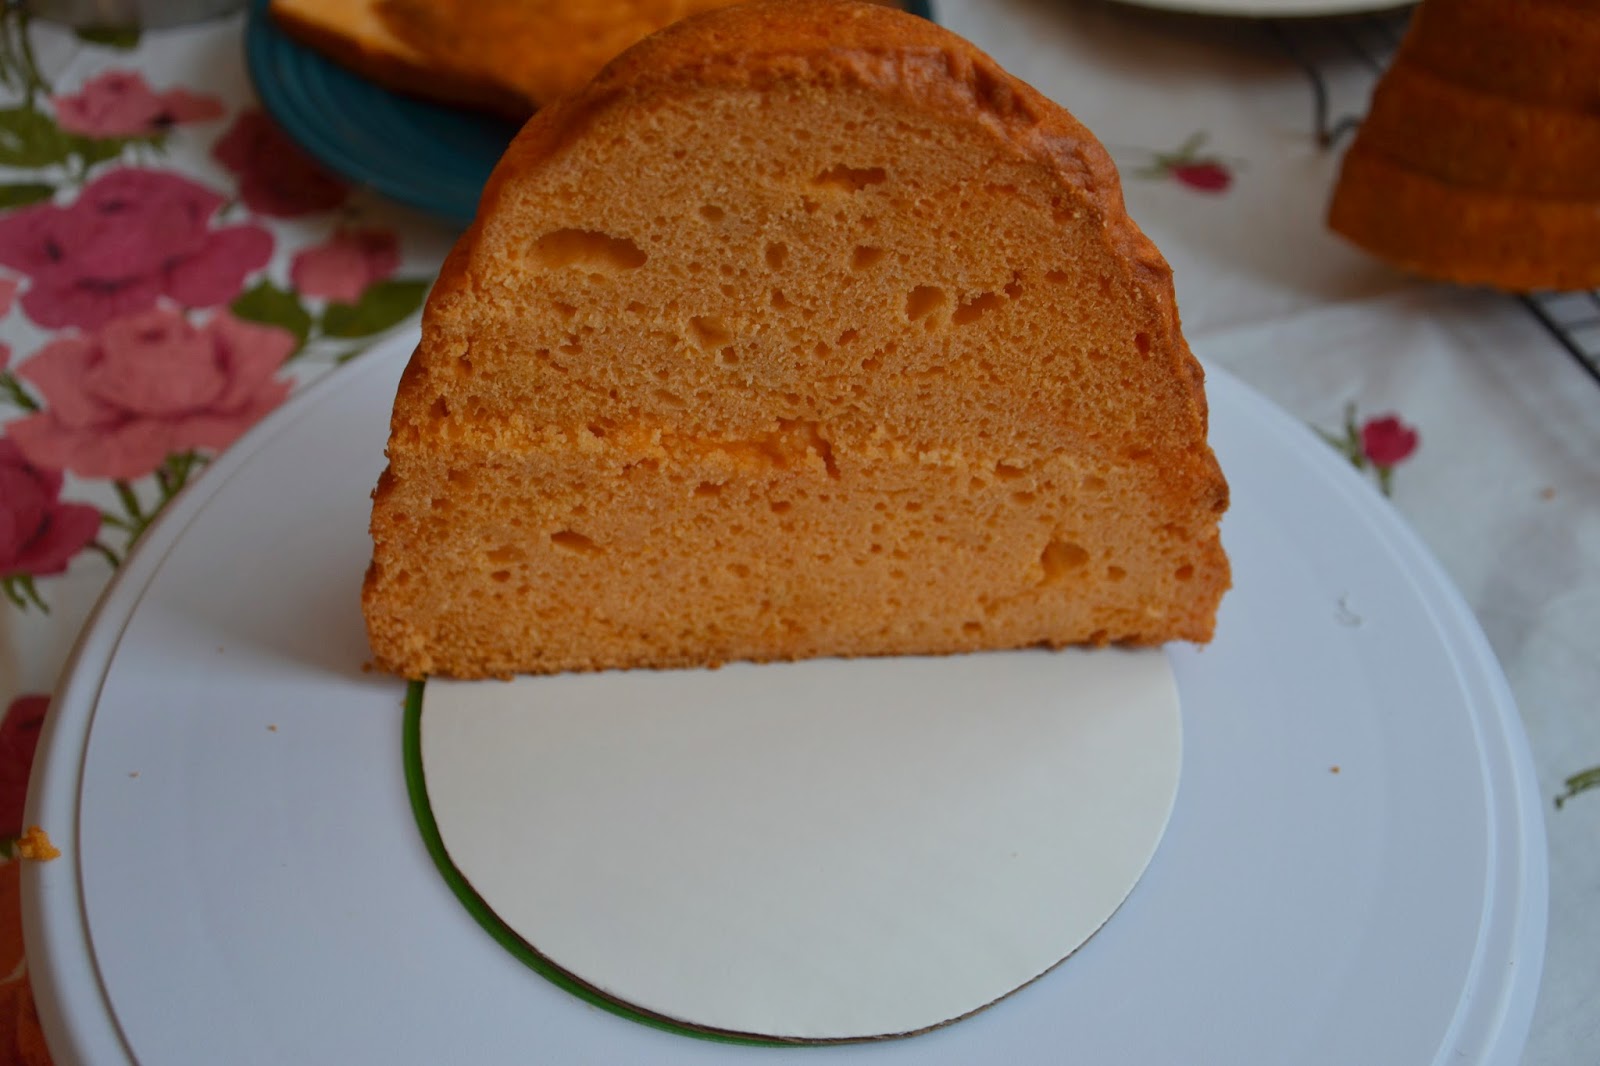
These are two, 8" round layers of Red Velvet cake.


On the morning of assembling this cake, I polished each individual button with a clear syrup (I used Karo, Light Syrup).    I knew the syrup would make the buttons shine and hoped it would eliminate the white powder mix.  There was concern the marzipan would 'drink in' the syrup and the shine would lessen - but that didn't happen.  Yea us!


Baking the Cheesecake the night before and letting is set in the fridge is the most ideal way to prepare putting this cake together.  If pressed for time, let the cheesecake set up in the fridge for a minimum of three hours.


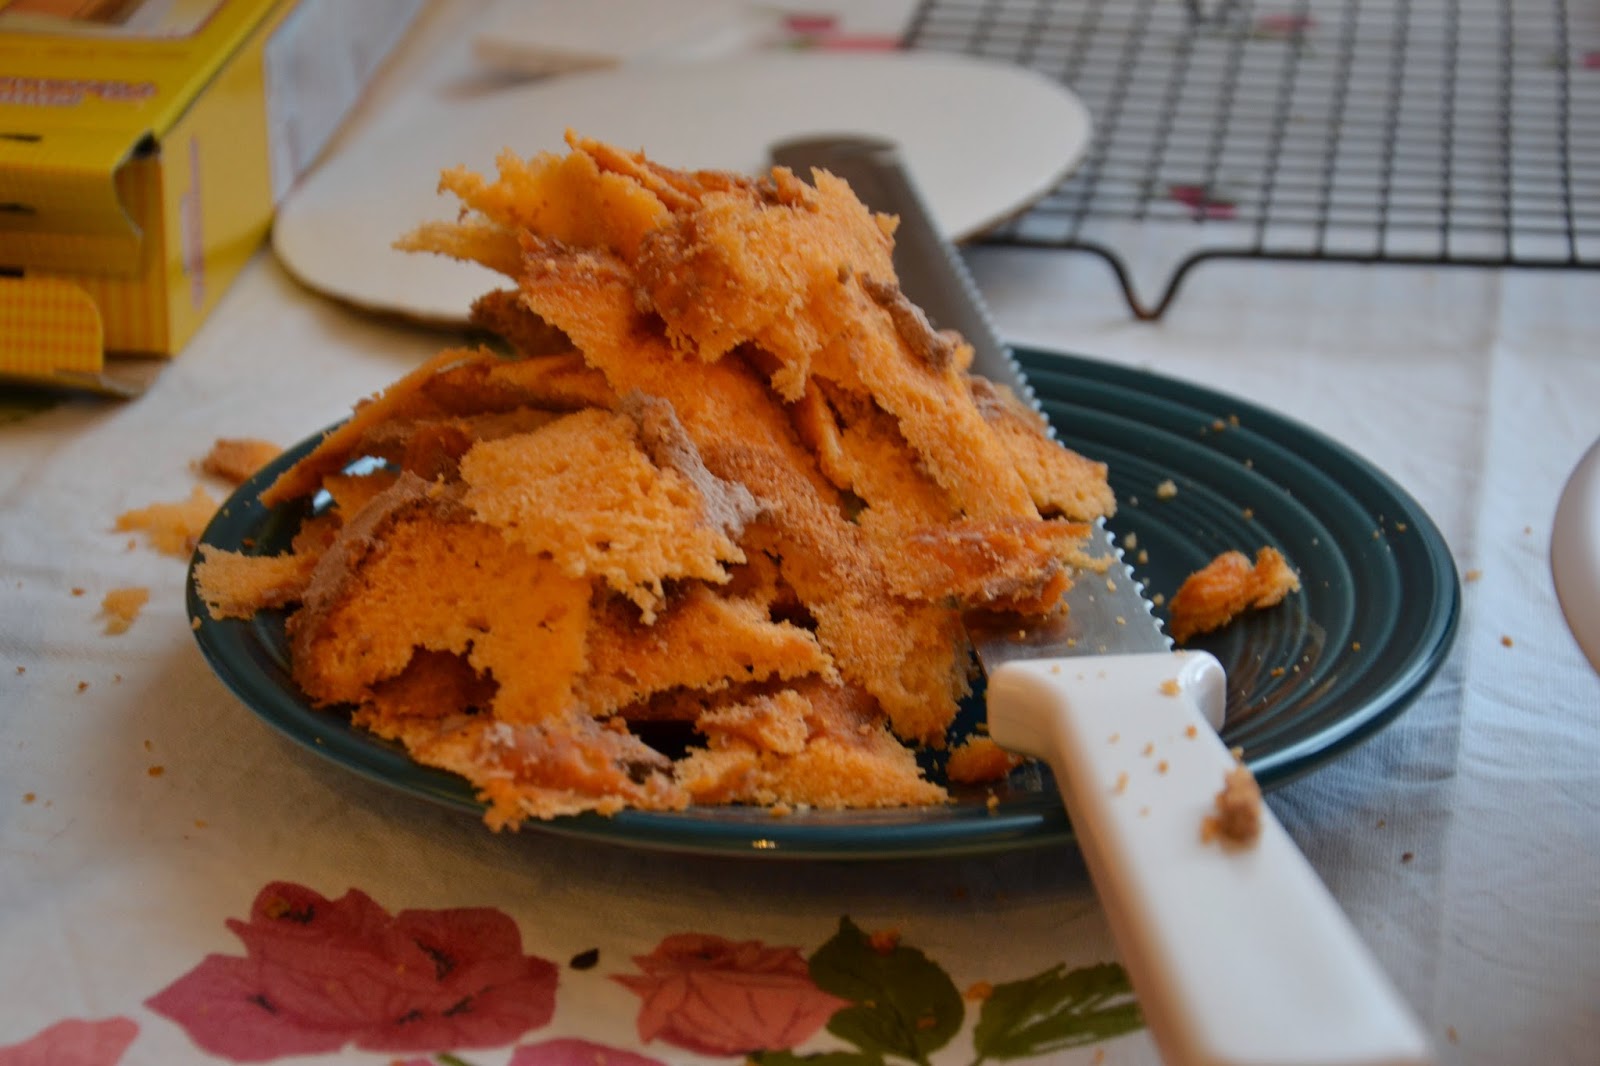
There was just a small bit of cheesecake around the top rim that needed to get trimmed away.


The crumb coat didn't go as planned...  I applied too much and paid for it later.


It wasn't originally part of the plan to frost with a Vanilla Buttercream, but I needed to get the cake done.  Next time, I'll start all over and remove more of the crumb coat.  It's a good thing I'm still learning... "Each cake teaches."


At this point I was ready to work with the buttons and move on.  I wasn't sure how far up the cake I wanted to go with the buttons, however, not quite halfway was pretty.  Of course, more buttons or fewer is a design decision made by the baker.

Don't have ready access to marzipan or fondant?  Think outside the box - chewy candy without a hard outer shell or a liquid center will work wonderfully.  Warm up the candy (unwrapped - pop into the microwave for a few seconds, wrapped - put in your pocket for about 30 minutes) then flatten with a rolling pin. Some alternatives to consider:
Tootsie Rolls
Starbursts
Caramels
Laffy Taffy
Now & Later


This was a super fun project!!  Buttons are universal and don't require language.  "Buttons are the great equalizer."

My partner carried this cake to our dinner party... he's used to walking through town and being on the receiving end of the "ooohhs and aahhhs."  I'm grateful he's willing to do the heavy lifting, literally and figuratively.  I'm also grateful for the people we raised up.  And sobriety too.

Wednesday, December 3, 2014

It's a Christmas Tree!


Orange Cake, Whipped Dark Chocolate Ganache Buttercream Filling, Vanilla Buttercream Ombre Ruffles, and a Lemon Tootsie Roll Star


I have been thinking about this cake for a week or two.  It's Christmas-time and I definitely want to bake all the Christmas cakes!  However, I'll have to choose just a few and run with those.
 
There were several methods I considered when approaching a Christmas Tree Cake.  Naturally, stacking graduated rounds is for-sure one option.  It would yield quite a bit of cake (for that community holiday party) especially when using 10", 9", 8", and 6" round pans.  The carving away of the distinctive edges would be key and it's completely doable.  Don't sell yourself short...try it!
 
I didn't need quite so much cake for this first attempt.  So, I explored my cupboards and found my Nordicware Bee Hive pan...which is practically a Christmas Tree already.  I've used this pan several times (love it) but have never blogged about it!  Here's a snapshot I instagram'd in late August.  (Why haven't I blogged this Bee Hive Cake?!)
 
 
Anyway, the Christmas Tree Cake was constructed primarily with my delicious Orange Cake and Whipped Dark Chocolate Ganache Buttercream.  It was crumb-coated with a white vanilla buttercream and fully covered in tinted Vanilla Buttercream Ombre Ruffles. 
 
Step by step, this is how the Christmas Tree was constructed.
 

The recipe than accompanies the pan is a Lemon Cake that develops a thick batter.  The instructions include a step that suggests pushing the cake batter into the sides of the pan.  I make a small well in addition to that...this allows the inside of the cake to bake thoroughly while the outside edges do not burn.  I'm not at all worried about the rough cake surface since that will be trimmed away.


I love it when both sides of the cake fall right out... evenly baked and without major gaps.  The openings for the 'hive entrance' will be filled in with buttercream.


I used a 6" round cake board.  I did not want the board to be larger than the cake; I planned to have the last row of ruffles echo the bottom branches of a legit tree. 


A stiff buttercream between the halves is tasty and effective.  In the past this has worked and there hasn't been any instance in which I thought the cake would fall apart.


It may not have looked much like a Christmas Tree, but I was really excited about getting to this stage of the process.  The flavor and texture of the cake was spot on (I had a bit of the trimmed off portion) and the Dark Ritter Sport Ganache was... oh.so.yummy.
 
And, this was the point of ... "I have no idea what I'm doing whatsoever."
 

I started carving from the top down.  I worked as though I was looking at a clock... gently shaving away at 12, 6, 3, 9 and then I'd turn the axis point to midway... 1.5, 7.5, 4.5, 10.5. 

As I continued to turn the cake, the shape presented itself.  The key, for me, was not rushing this step and constantly spinning the cake.


Well now!!  That's a good amount of cake shaved away... did I hear someone say, "Cake pops"?  Or was it a mid-afternoon snack?


There's that 'bee hive entrance' getting filled with chocolate. 

 
Finally, the crumb coat.  Again, keeping the turntable spinning was super important.  And!  I was really happy with the shape.  #firsttimecarvingatree
 

I stuck a toothpick in what I considered the top of this cake.  It was needed to help me find/visual the center and top of this cake.  It was especially important when working right at the tippy top.  I used a Wilton 102 Rose tip for the top three shades of green then switched to the Wilton 103 Rose tip.


When developing a tree, I wasn't hung on being exact with each row of ruffles.  Layer cakes are a different adventure and I work hard to keep the rows even.  But...this is a tree.
 
Using a green coloring gel only worked about half-way down this tree since that's where the saturation level resides.  In order to continue deepening the green, I added just barely a drop of Navy Blue.  It gives it a nice Spruce color.
 
Hot tip:  When possible, use coloring gel when working with a lot of color.
 

And then, I wasn't sure exactly "What's next?"  I knew I needed to wait for that last row of ruffles to get piped on after sitting the cake on the 'tree trunk'...was it time for the star?

"Aw nuts!!  I don't have a star!"

In the middle of this build, I have to figure out a star.  I promise, if our Christmas decorations had been out, I'd have grabbed something shiny off the tree.  But....no such luck.

Tootsie Rolls to the rescue!!  I warmed up to two Lemon Tootsie Rolls I happened to have in the pantry "for emergencies only."  They were smooshed together, rolled flat, and cut out with a star-shaped cookie cutter.  I used a toothpick to support it.


The tree trunk was more of a challenge because of proportion..not too tall, not too round, but just right.  The closest to perfect (slightly too tall) was a vitamin bottle.  I covered it with the chocolate buttercream and gently pressed skinny pretzel sticks into the coating.  I had to cut the pretzels to size, but it was no big deal. 
 
I love the bow I wrapped around it, but when it was under the tree it lost some definition and simply looked crowded.  Next time, a thinner ribbon would probably be better.


At some point, it needed some type of decorations.  This Vanilla Buttercream garland is just the ticket.  I considered adding little bits and baubles, however, it is also the case that I'm terrible at editing my work and wanted to stop before arriving at "too much!"


Several tree stands were tried...including this Fiesta up-ended Bouillon Bowl in Scarlet.
 
 
This cake was far better than I imagined.  As I talked this one out and engineered a plan of attack - I was grateful for my life partner and his unending love and support.  The feedback from the kids is always appreciated.  Sobriety too.
 
Consider tackling a bigger-than-usual baking project!