

Vanilla Cupcake with tinted Vanilla Cake Pop Center and tinted Vanilla Buttercream Frosting
On our walk this morning, I was talking about five or six different cake ideas I had for today and the upcoming week. Deciding on which new idea to tackle was most of my end of the conversation.
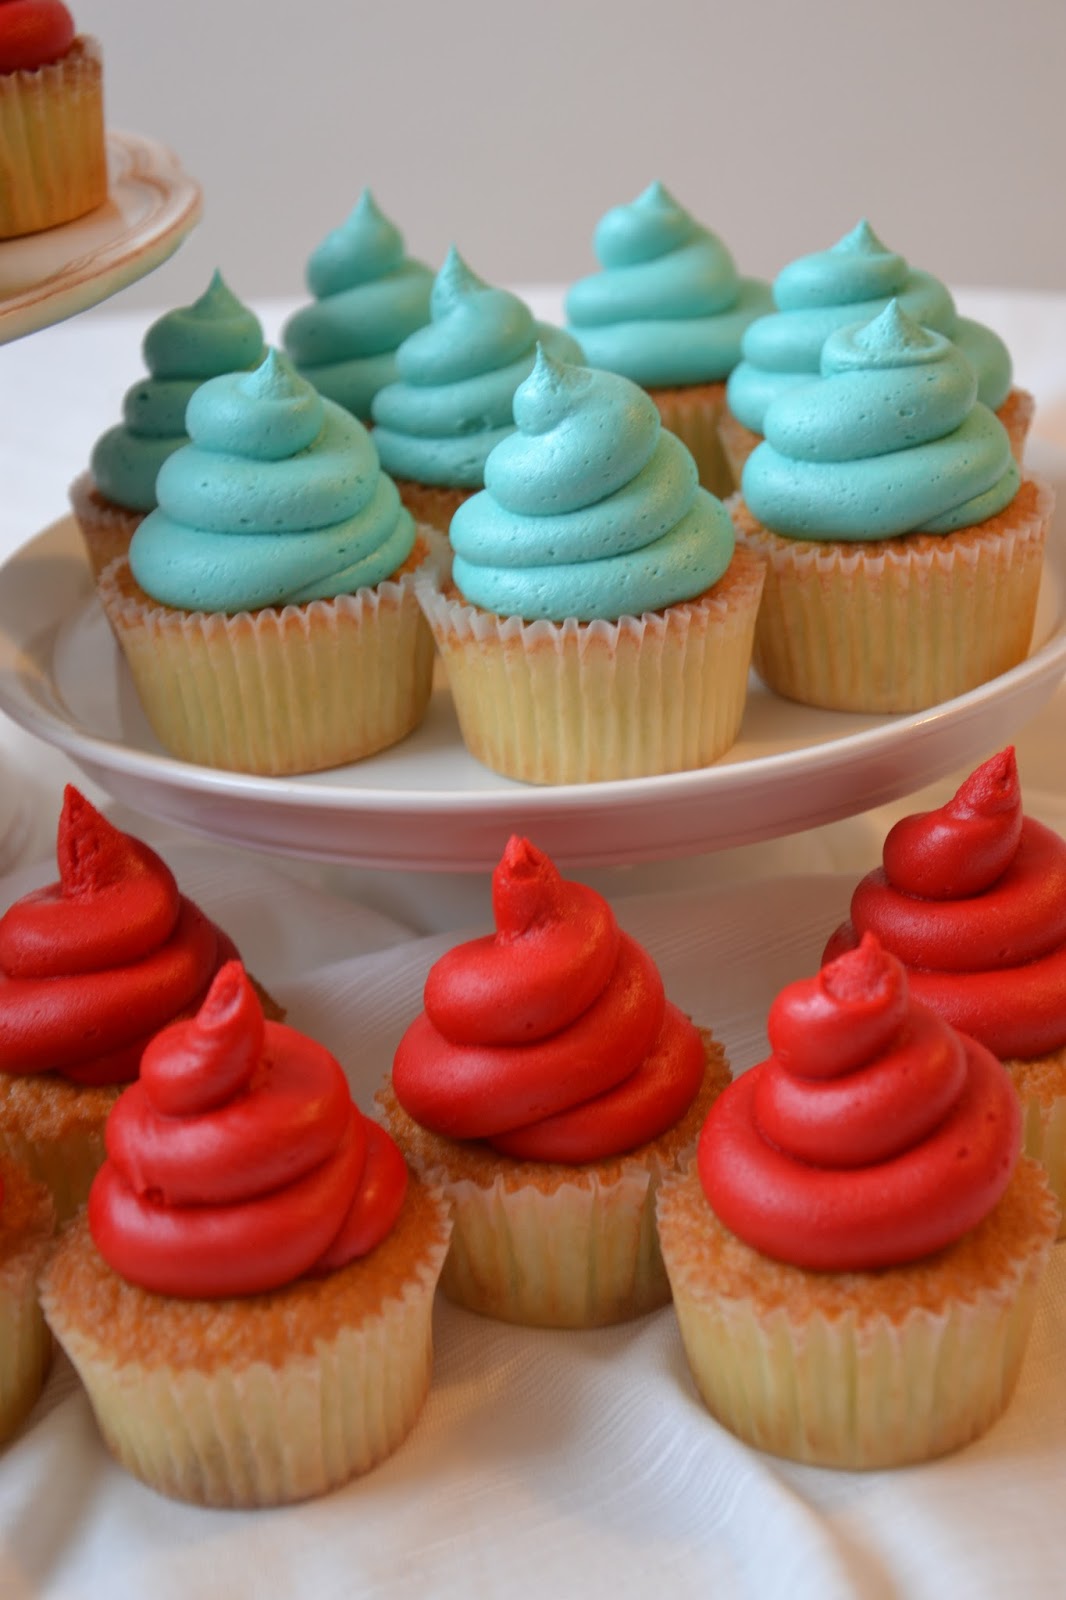
We stopped in to visit a friend and one look at her face and we knew, ...she needed a cupcake. You know that look? Maybe you've had that look? Her favorite flavor is vanilla and favorite color is turquoise.
I love, love, love turquoise. I can't hardly walk by this color and not stop to touch, pick-up, or gawk. With that being said, these cupcakes were easy. And fun!
Starting with a variation on the Polka-Dot Cake, I baked some vanilla cake pops. [Usually I use my White Cake Recipe with almond extract for the cake pops, but substituted additional vanilla for the almond] The entire cake batter was split about 60/40 with 40% receiving the Wilton Teal coloring gel. After baking 24 cake pops, I had enough batter for five turquoise cupcakes.


I baked the cupcakes with the cake pop in the same way as the layer cake: little bit of white cake batter, cake pop, cover cake pop with additional white cake batter. I baked the cake pops for 12 minutes and the cupcakes for 21 minutes at 350F.

Having never made polka-dot cupcakes, I wasn't sure what the results would be.
 |
| I figured out how to slice a cupcake in half without damaging the frosting! And, this Polka-Dot Cupcake looks so interesting. |

 |
| The red buttercream was leftover from the Red Dragon Cake. |

Now that I have this cupcake as an option, I can't wait to try all kinds of different combinations!
 |
| This vanilla cupcake of deliciousness is sitting on an upturned Fiesta Ware tea cup. |
I'm still working on how to stage cupcakes for the photo shoot.


No comments:
Post a Comment